

PingPlotter Cloud Manual
Agent Templates and Presets
Agent templates and presets allow you to create Agent configurations for repeated use or mass deployment. Instead of creating a new agent for each user, you can create one link that everyone can use.
Creating an Agent template
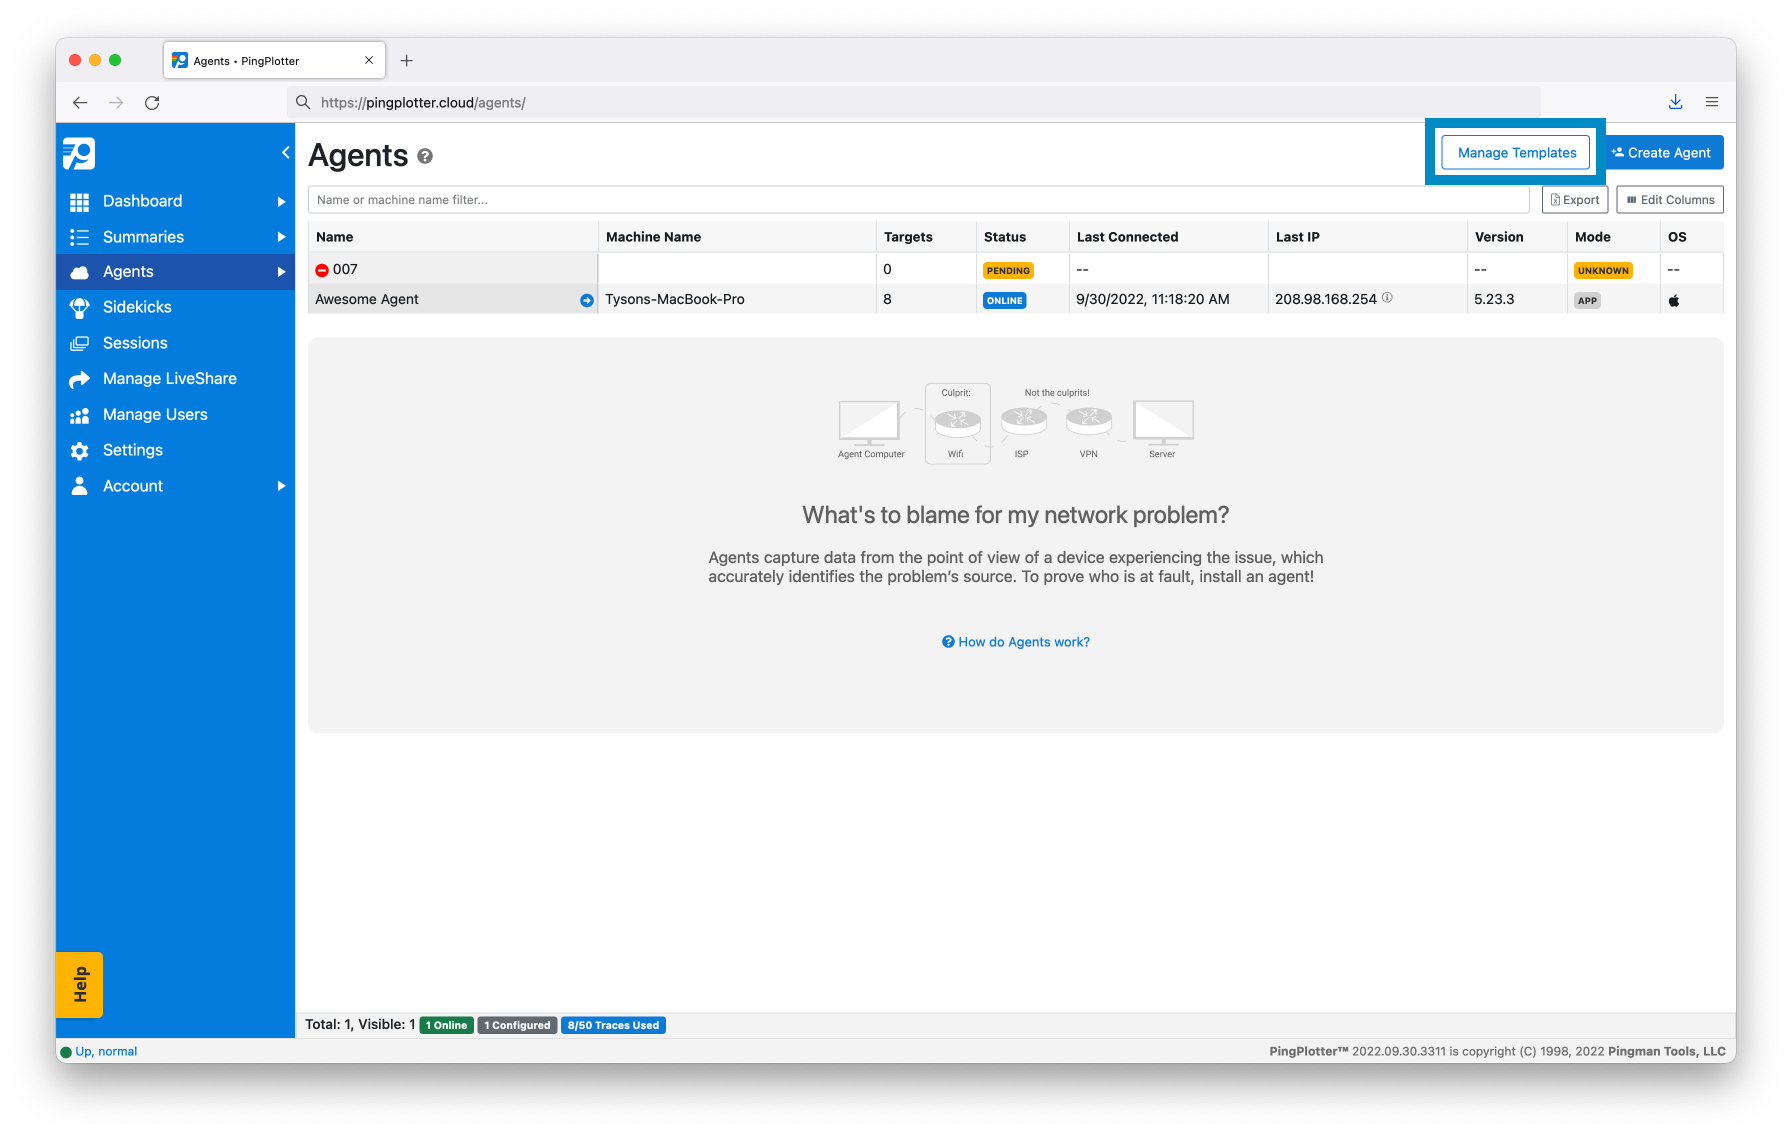
- On the Agents screen, select Manage Template .
- Then click on Create an agent template .
- You will then be taken through a guide that takes you from template creation to deploying agents.
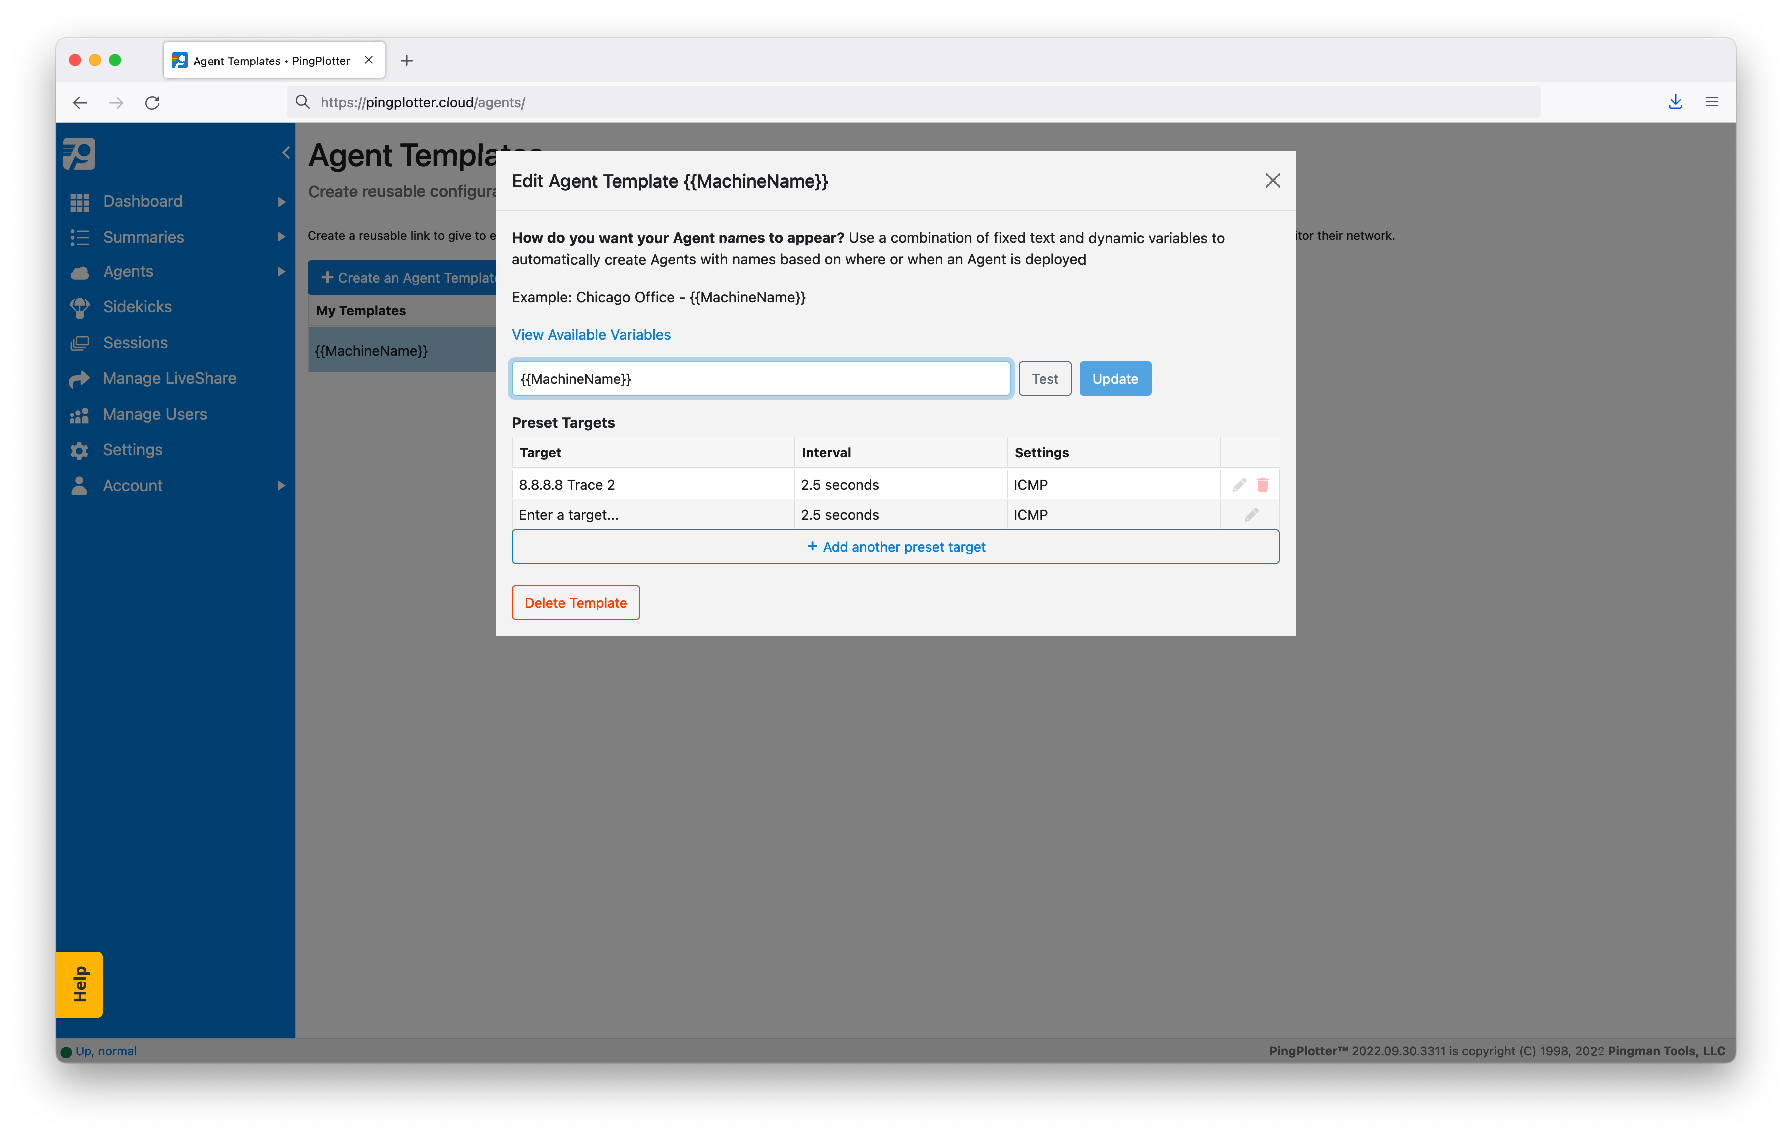
- Use a combinatation of fixed text and dynamic variables to generate unique Agent names based on where and when an Agent is deployed.
Example
I have two offices: Los Angeles and New York. To create templates specific to each office I would name the templates something like
- Los Angeles - {{ MachineName }}
- New York - {{ MachineName }}
If I were to deploy an Agent using the Los Angeles template to a device with the machine name "Laptop-123," the Agent would be given the name:
- Los Angeles - Laptop-123
Agent template name variables
| Variable | Description |
|---|---|
| {{ MachineName }} | The machine name of the Agent |
| {{ Platform }} | The platform onto which the Agent was deployed (macOS, Windows, Linux, etc.) |
| {{ DateTime }} | The date and time the Agent first connects |
| {{ InstallType }} | Whether the Agent was installed as a Service or Application (Windows only - macOS and Linux currently show Application) |
| {{ CurrentAgentIP }} | The IP address of the Agent when it connected |
Preset Targets
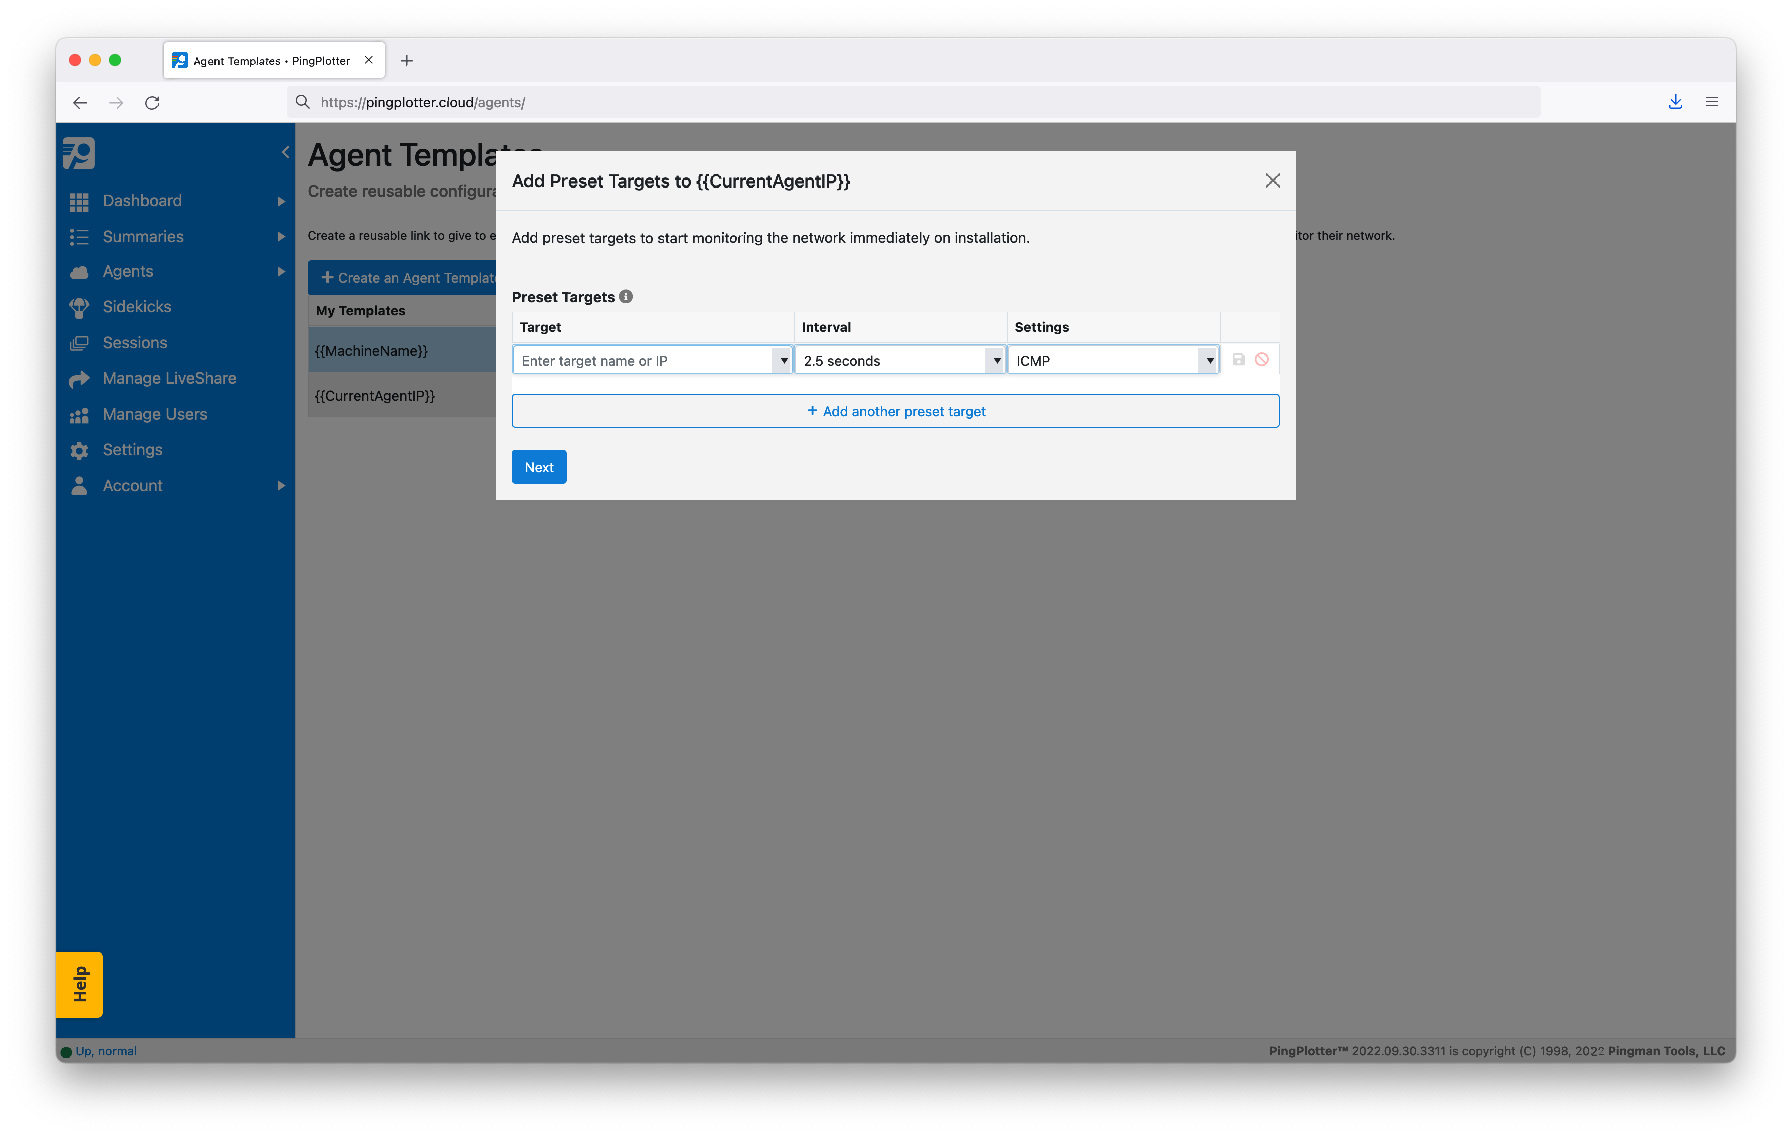
Both Agent templates and existing Agents can be configured with a number of predefined trace targets that automatically begin once the Agent is installed.
Click on Enter IP Address of Target... to add a preset target. Add as many preset's as necessary by clicking on + Add another Preset Target . Each time an Agent is installed using this template, it will automatically run traces to these targets.
Click on Enter a target… to add a preset target. Like with any other trace, you can set the trace interval and packet engine settings for the preset target. Once you are finished, click the Save icon.
Now, whenever this Agent or Agent template is installed, it will begin tracing to the preset targets automatically.
Note
If a Cloud account does not have enough available traces to accommodate an Agent’s preset targets, the traces will not start automatically. You will need to manually start any pending traces once more become available on your account.
Agent Template Approval Process
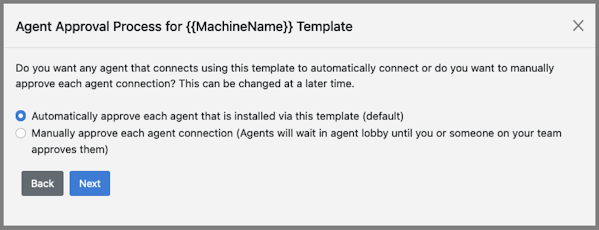
Each template has it's own approval process:
- Automatic - if a seat is available the newly installed Agent will take it
- Manual - newly installed Agents will wait in the Agent Lobby before taking a seat
Deploy an Agent from a template
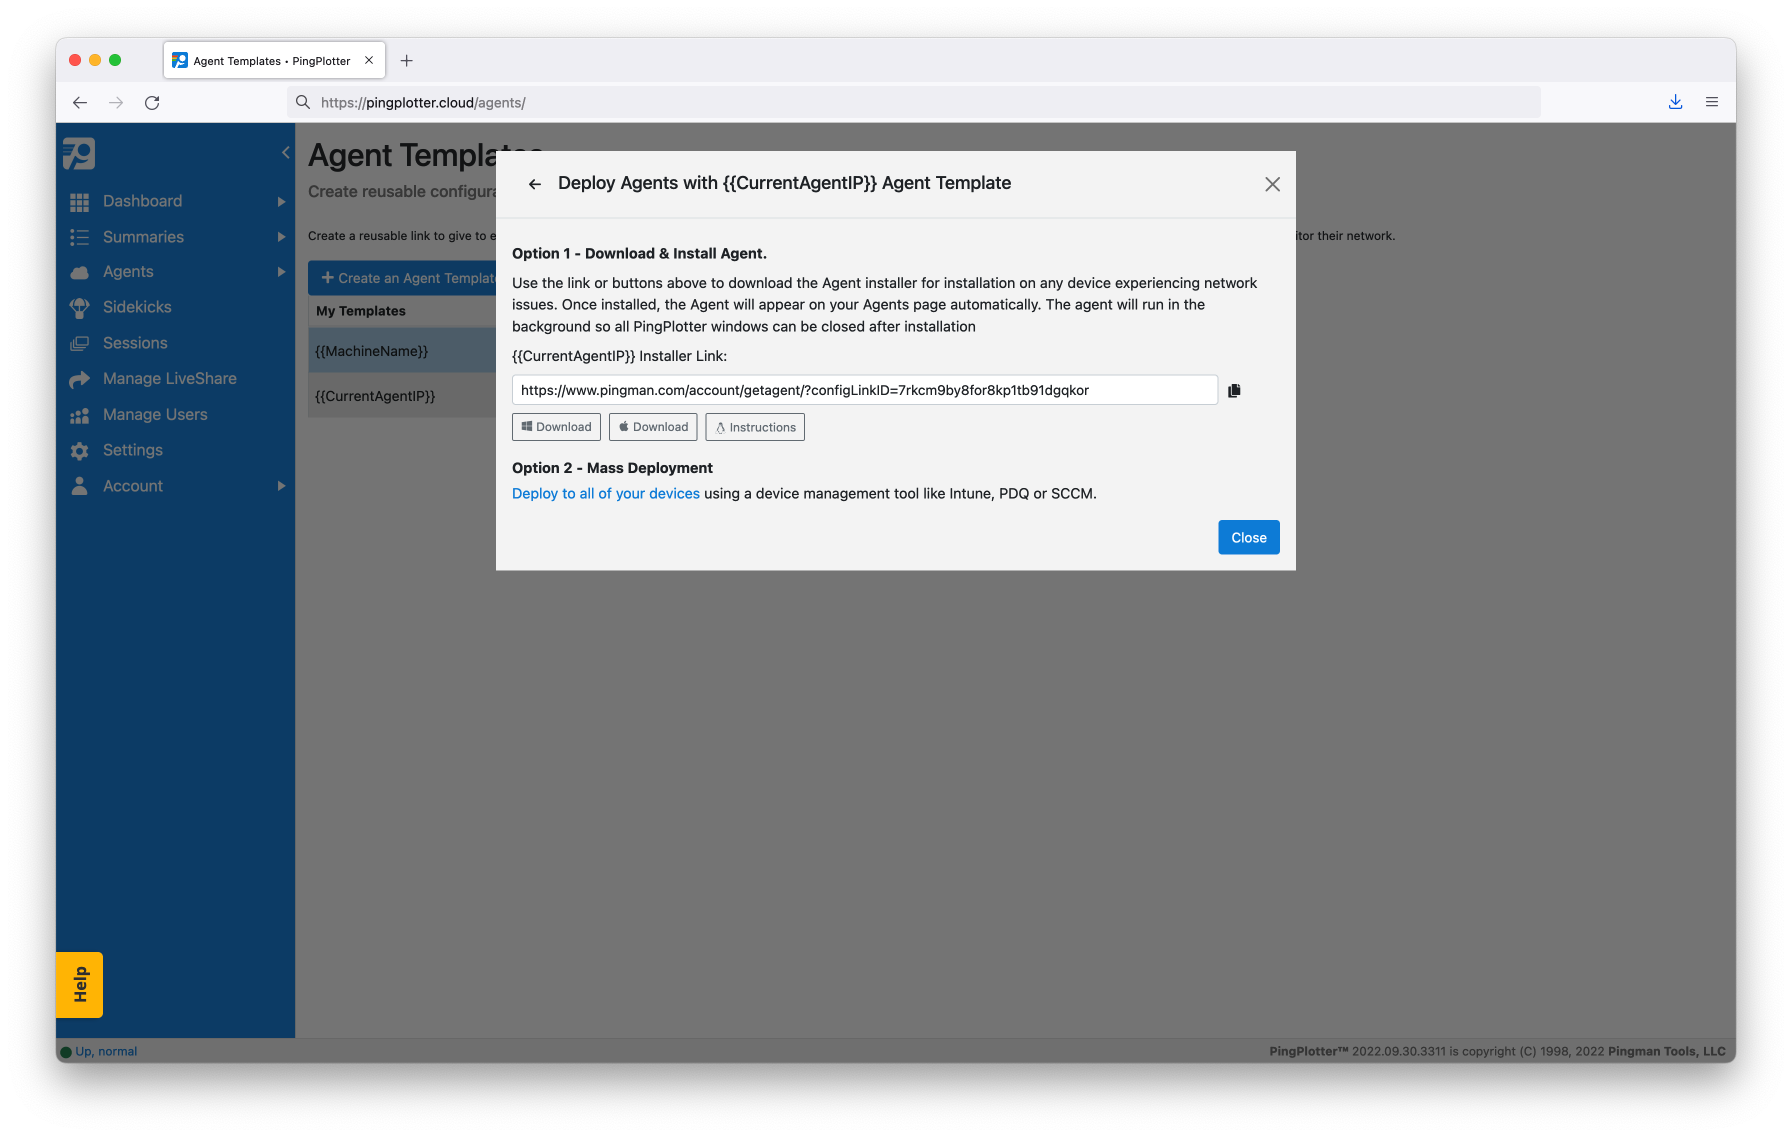
Copy the installer link and send it to the end user, or open it yourself on the remote machine. Download the Windows installer or the Mac application.
Mass-deploy multiple Agents at once using an installation manager or any other method of distribution.
The installer link can later be found by clicking on the Manage Templates , then Deploy Agent .
Edit an Agent Template
On the Agents page click on Manage Templates then Edit .
Changes to the Agent name will not retroactively change the names of already installed Agents. It will only affect agents that are installed in the future.
Delete an Agent Template
To delete a template, click the Edit button from the Agent Templates page.
Select Delete Template .
Important!
Deleting an Agent from PingPlotter Cloud means that you'll no longer be able to use the Installer or Auto-Setup link to activate new Agents and/or will no longer receive data from existing installations.