

Version 5 Manual
Target Bar

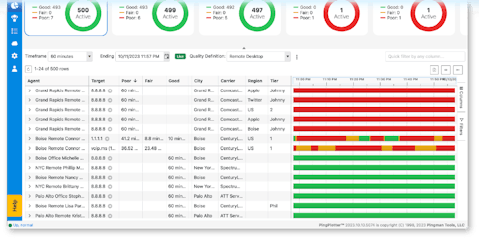
- All Targets Summary: The "All Targets" summary is always available in PingPlotter Pro (only), and list all targets you're tracing to. This can quickly be accessed by going to "Workspace" -> "Summaries" -> "All Targets."
- Trace Target Tab*: Target windows can be opened for any target from a summary screen by either right clicking on a target and choosing "Show Target Window," or by clicking on the IP address for a target.
- New Trace Tab*: A blank tab ready for a new target entry. If you try to start a second "New Trace", the old "New Trace" is replaced with a new one.
- Add New Trace Button*: This button will open a "New Trace" window.
- Target Entry Field: This field is where a new target can be entered (either by IP address, or DNS name ). Clicking the dropdown button on this field will bring up a history pane showing all of the previous targets that have been traced to.
- Start/Pause Button: This button can start a new trace (after a target name/IP address has been entered), or pause an existing trace. Clicking the dropdown option on this button will also provide options to "Reset & Restart" a target (which begins a completely fresh trace session to that target, and clears out all old trace data), as well as an option to create a "New Target" window.
- Trace Interval Setting: This setting dictates the amount of time that PingPlotter will wait between sending out sample sets. The dropdown menu provides several different options - but values can be manually typed in here as well.
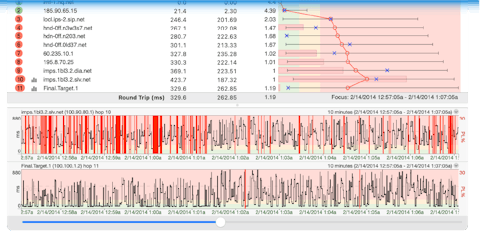
- Focus Setting: This field dictates how much recent data PingPlotter uses to calculate the statistics displayed in the trace grid. If set to "auto" - then the focus time will automatically adjust to what is displayed in the time graphs (for example, if a time graph is set to 1 hour, then PingPlotter will automatically display the statistics for the last hour). If set to a value (i.e. - 60 seconds), then PingPlotter will display the most current samples within the timeframe that is set (double-click the time graph to change focus in non-auto mode). If set to "Auto" - PingPlotter will base its statistics off of whatever is displayed in the time graphs (and the statistics will update if you scroll back and forth on the time graph).
- Settings Dropdown: If you're using Pro and have more than one named configuration, you'll have a "Settings" selector here, too. This lets you switch a target (or summary graph) to a different set of parameters.
- Good/Warning/Bad Color Legend: This shows the thresholds that have been set for the colors in the graph background. The values here can be adjusted by going to either "Edit" -> "Options" -> "Display"(for Windows), or "PingPlotter" -> "Preferences" -> "Display" (for Mac).
Some of the features listed in this topic are only available in PingPlotter Pro and/or PingPlotter Standard. See our product comparison page for details.